I have declared to myself that no matter what my children decide to do with their summer, I have my summer project all set to go: revisiting the photographic process of making cyanotypes. Why, in this age of digital photography, I would go back to such an archaic method of creating photographic prints, I really don’t know, but sometimes there’s no resisting it. I know you are all sitting on the edge of your seats.
That said, talk to me tomorrow and I’ll be onto molecular biology, but I’m on a roll here armed with several new books one of which was one that my sister sent me (Thanks, Poupie!):
And I ordered another book awhile ago called Digital Negatives by Ron Reeder and Brad Hinkel. For awhile, I thought I was a goner, it looked way too technical, but Poupie’s book helped me fill in a few gaps.
I have actually spent a great deal of time already in the darkroom making all the t-shirts to fulfill my Kickstarter campaign rewards. They were all cyanotypes, and I thought I would die before I finished all of them. (I think I still owe Trevor Hartman one!) In fact, creating all of those shirts from the same artwork almost wrecked it for me, but now I’m back.
Two things have eluded me all this time: the ability to make a negative that will result in a great-looking print and the toning process. I mean, nothing against Prussian blue, but after awhile, you really just want something else.
Today is a big day since I finally dragged out all my chemicals and supplies from all those summers ago to see if I had everything I needed. Then, I dove in, mixed up some chemicals, and coated some paper. Note: I am very bad at putting my chemicals in the same area as my food and clothes. Do not do this at home. (Yes, those are S’more Mallows right there next to the ferric ammonium citrate and the potassium ferracyanid:
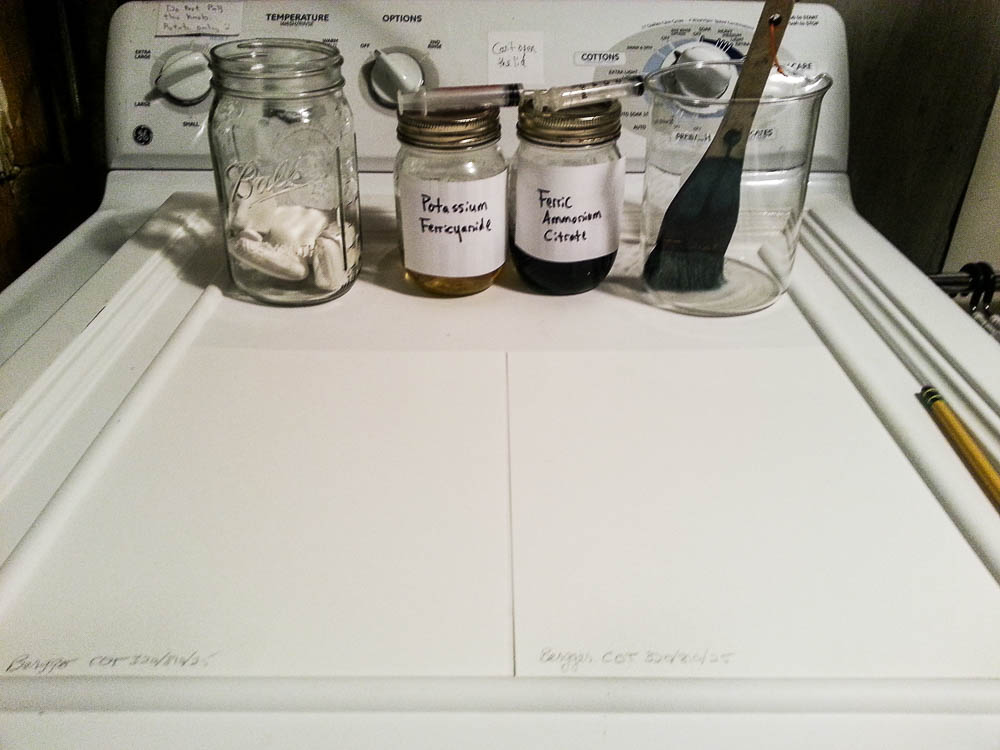
The first item on the list is to know exactly how long it takes to get a good exposure. Up until, I’ve just been winging it. So I coated the above paper, dried it with the hair dryer cuz I’m impatient, cut a strip, and taped a piece of the transparency film I’m using to it:

Then I went outside and exposed each section for the number of minutes marked. Fortunately, I had a bright, sunny day:
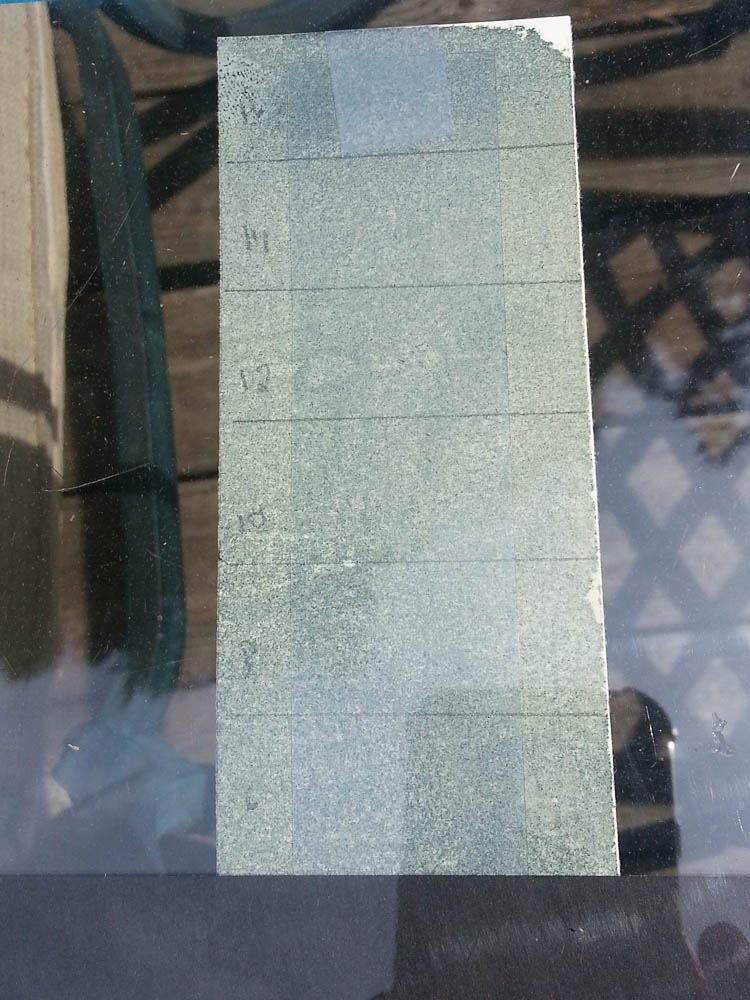
I’m not as satisfied with my results as I had hoped. They’re not as tidy as the ones in the book:
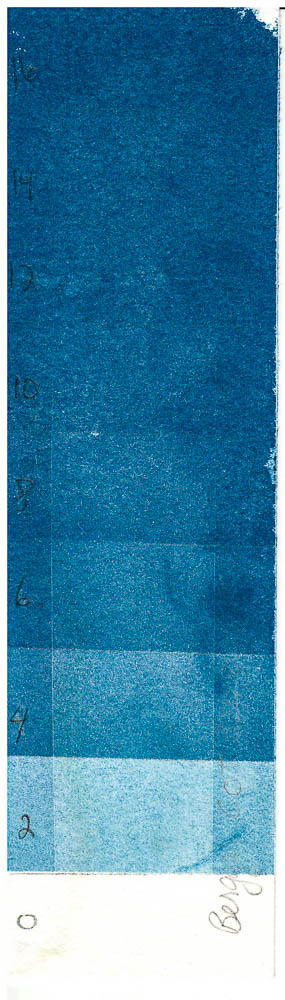
Looks to me like, on a May day at 3:00 in the afternoon using that paper and one coat of chemicals, my exposure time should be 10 minutes.
I know you’re all relieved to know that.
Now I’m onto creating a custom tone curve in Photoshop for all these particulars.
You are amazing, Sandy. Good luck.